
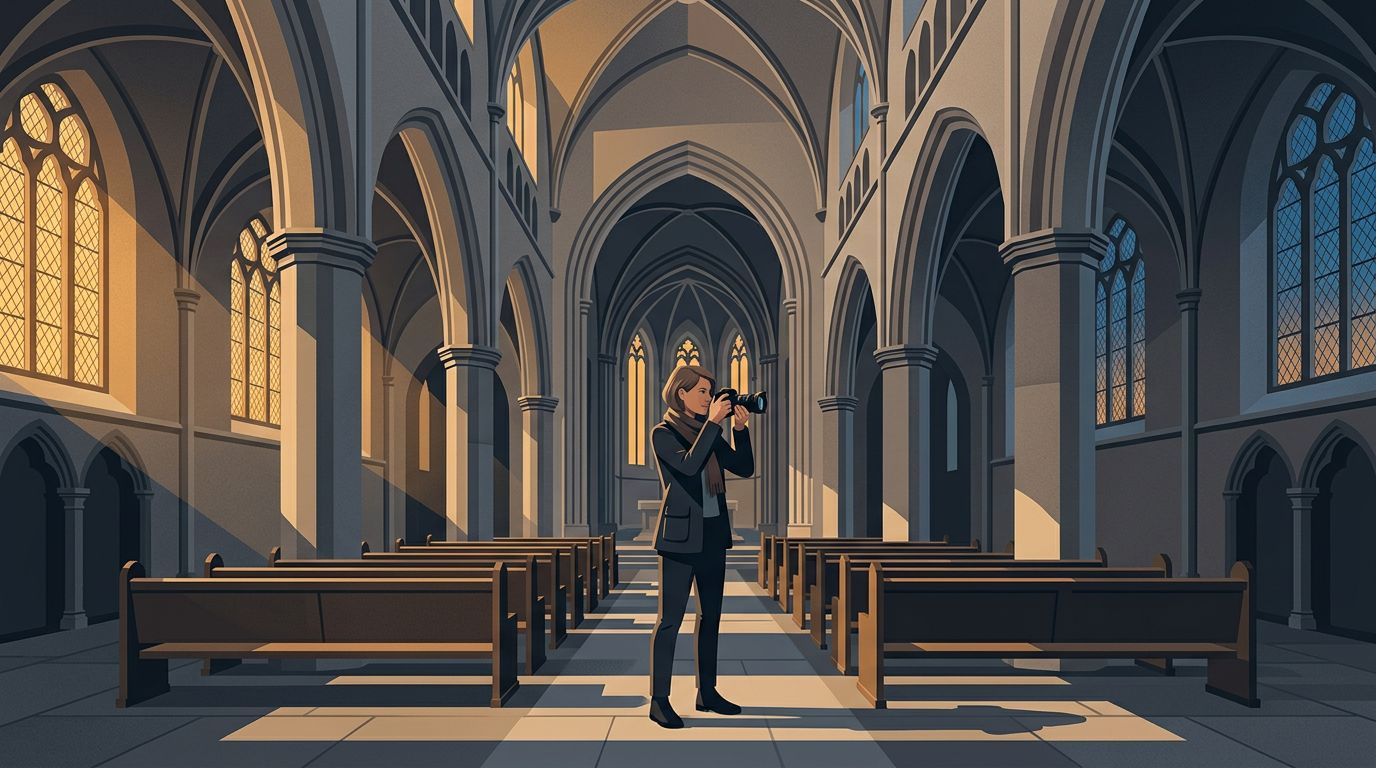
European churches are built for shadows, not camera menus. church interior photography asks you to hold a sharp frame in dim light while treating a working place of worship with care.
A tripod may be forbidden or awkward to carry across a city. A wide lens and patient technique can produce more convincing images than a rushed setup.
Start by earning permission, then let the building’s light set your pace.
Ask Before You Raise the Camera
A church is not a museum set, even when visitors fill the nave. Photography rules can change for a service, restoration work, or a local security concern.
Read the local rules
Check entrances, ticket desks, and posted notices before taking out your camera. If the guidance isn’t visible, ask a verger, guard, or volunteer in a low voice.
Cultural venues often restrict the equipment that blocks circulation or alters the light. For example, the National Gallery of Ireland’s public photography policy prohibits flash, tripods, monopods, and supplementary lighting in exhibition areas. A church may have different rules, but the same concern applies when aisles are narrow.
Check the rules first. It saves awkward moments later.
Photograph around worship, not through it
Skip photographs during Mass, private prayer, funerals, or other services unless staff explicitly says otherwise. Even in an open church, move away from people who are praying and avoid pointing a camera toward them.
Set your exposure before stepping into the nave. Then you can take a frame without lingering beside an altar or blocking a route. Work slowly and listen. No flash and no blocked aisle.
Set Exposure for Church Interior Photography
Handheld church interior photography begins with an honest exposure, not the lowest possible ISO. Stone columns stay still, but your hands do not, and the bright windows can confuse your meter.
Set shutter speed by focal length
Use the reciprocal rule as a starting point. With a 24mm lens on a full-frame camera, begin around 1/30 second. At 50mm, try 1/60 second or faster. Crop-sensor bodies need a faster starting speed because their narrower field of view magnifies camera shake.
At 24mm on a full-frame body, 1/30 second can work for a static altar if you brace yourself, but at 70mm the same speed often reveals shake in columns and candlesticks even when the center looks sharp.
Image stabilization gives you useful room, especially with a wide lens. Canon’s explanation of image stabilization stops illustrates the principle: a two-stop gain can permit a shutter speed two stops slower. Treat every stated rating as a best-case figure, since breathing, footing, and lens choice still affect sharpness.
Let ISO do its job
Start around f/2.8 when the light is low and your lens allows it. At 16mm or 24mm, that aperture still gives plenty of depth for an altar scene. Move to f/4 or f/5.6 when a nearby column needs to stay sharp with the distant sanctuary.
Raise ISO before dropping below a safe shutter speed. ISO 1600 is often a sensible first setting, while ISO 3200 or 6400 may be the better choice in a dark Romanesque nave. A clean file with a little noise beats a blurred one.
Shoot RAW. Stained-glass highlights and shadowed stone give you far more room to adjust when the file holds the full sensor data.
Use Your Body as a Tripod
A stable posture is lighter than any travel tripod. It also lets you move out of the way quickly when the church becomes busy.
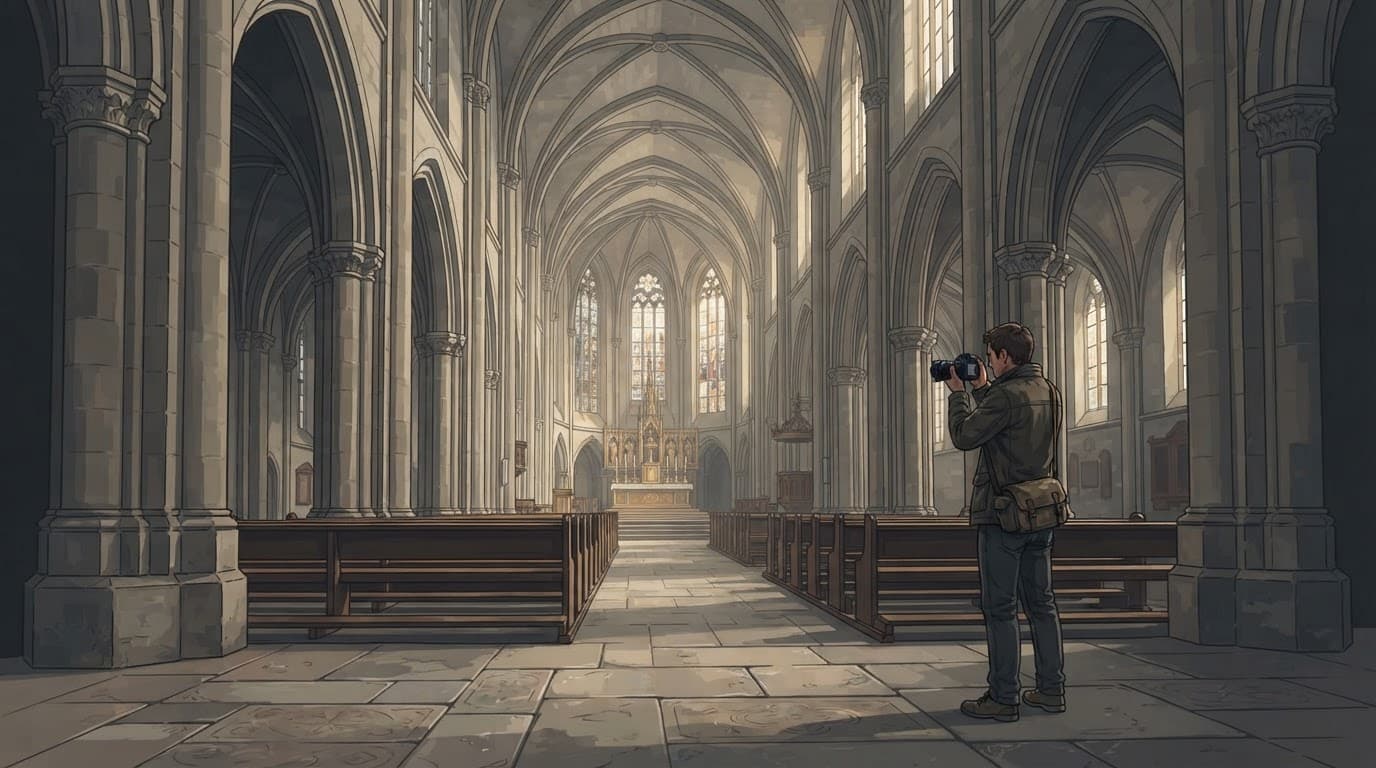
Build a firm shooting position
Stand with your feet apart and tuck both elbows into your ribs. Cup the lens with your left hand, then pull a neck strap lightly taut against your body. That tension reduces the small forward-and-back movement that appears during a slow exposure.
Where permitted, rest a shoulder against a plain wall or brace your forearm on the end of an empty pew. Never lean on carvings, railings, tombs, or fragile furnishings. Stability begins before the shutter.
Lower the camera between frames. Holding it up for several minutes tires your arms and makes the next image softer.
Make several quiet frames
Take three or four frames of the same composition instead of trusting a single exposure. Pause after exhaling, press the shutter smoothly, then review at high magnification before you leave the spot.
When worshippers or staff cross the aisle, use a faster shutter even if the architecture is still, because a blurred person near a carved screen pulls the eye away from every carefully aligned line in the frame.
Stabilization can steady your camera for a dim chapel, but it cannot sharpen a kneeling visitor or a swinging censer.
Use a low continuous burst only if your camera is quiet enough for the setting. Silence matters here.
Compose for Scale, Light, and Straight Lines
Great church interior photography does more than show a high ceiling. It gives the eye a route through the space, then allows the light to decide where the frame rests.
Look for one dominant element
Find the subject before chasing every detail. It might be a pale shaft of light across the floor, a dark pulpit beneath a painted vault, or a repeating run of columns that leads toward the choir.
Czech photographer Josef Sudek lost his right arm during the First World War and later made celebrated photographs of Prague, including St. Vitus Cathedral. His cathedral studies linger on light, archways, and deep space rather than trying to record every decorative surface at once.
Apply that patience in a crowded church. Wait until a central aisle clears, then make a frame with an unbroken line toward the altar. A side chapel can also be stronger than the grandest view, particularly when late light reveals worn stone or candle smoke.
Keep verticals under control
Hold the camera level first, then tilt only as much as the scene requires. Excessive upward tilt makes columns converge sharply and turns a calm interior into a wobbling tunnel.
Step back when you can, rather than aiming dramatically upward from the first pew. A 20mm or 24mm lens gives you room to crop later, while a 35mm view often preserves more natural proportions. Leave a little space around stained-glass windows so you can correct perspective without cutting their edges.
Bracket Carefully When the Light Is Extreme
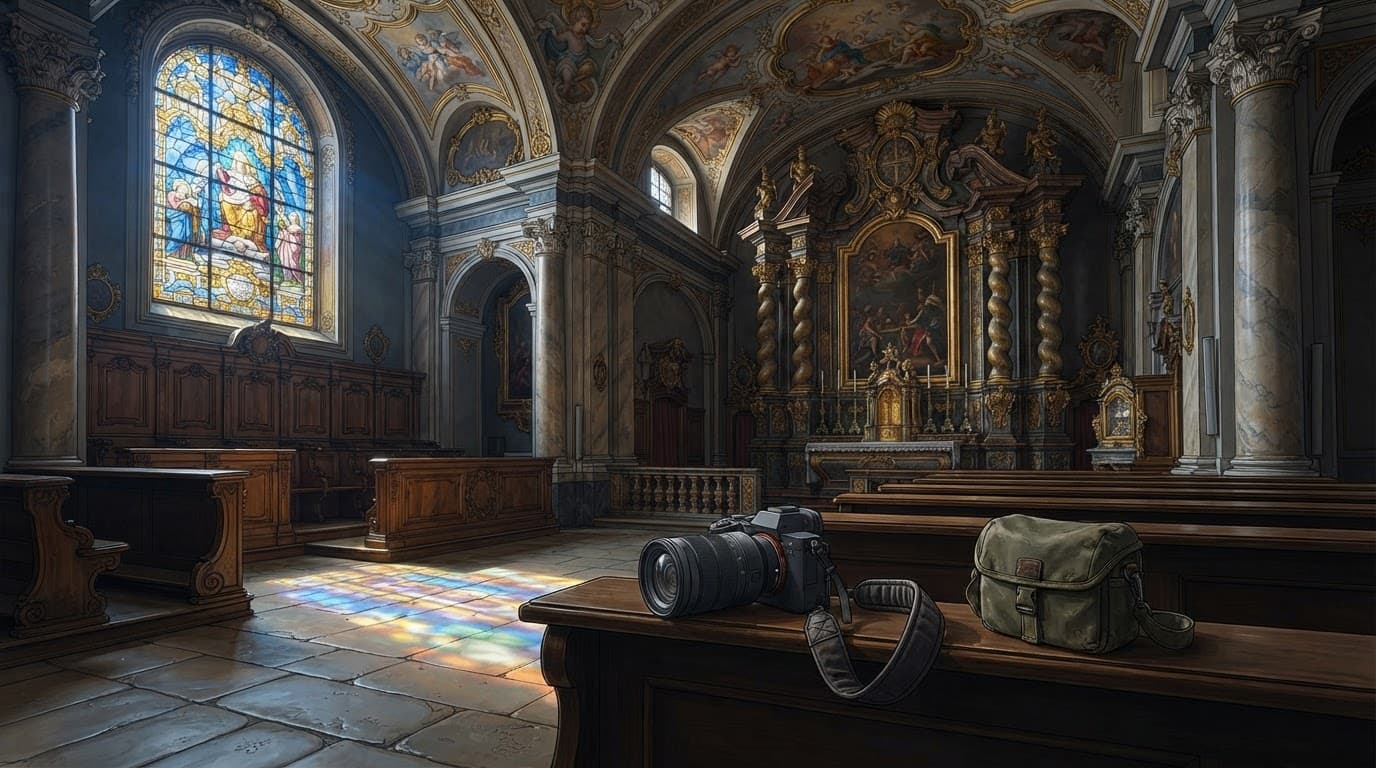
A bright window and a dark nave can exceed what one exposure holds well. Bracketing helps, but only when both you and the scene remain still enough.
Keep brackets short and purposeful
Use a three-frame bracket when the altar is static and the window is important. Hold your stance through the sequence, because even small shifts make later alignment harder. If visitors are moving through the frame, choose one well-exposed image instead.
Many mirrorless cameras provide this option in-camera. The OM SYSTEM OM-1 specifications list exposure bracketing for two, three, five, or seven frames with adjustable exposure increments. A three-frame series is usually enough for a church interior, provided the camera position does not move.
Avoid making every church scene into HDR. A little shadow belongs in old stone buildings.
Edit without scrubbing away the atmosphere
Correct lens distortion and vertical lines first. Then recover window highlights with restraint, lift only the shadows that matter, and apply noise reduction lightly. Strong noise reduction can turn carved stone into smooth wax.
Warm the white balance only if the image feels colder than the room did. Candles, stained glass, and mixed daylight often create color differences that are part of the place. Keep them when they support the photograph.
Zoom into the edges before exporting. A cropped buttress, a bent column, or a smeared person near the aisle can ruin an otherwise careful frame.
The Frame Worth Carrying Home
European churches reward patience more than complicated gear. A stable stance, a shutter speed that matches the lens, and respect for the people around you give handheld work its best chance.
Before leaving, inspect the corners and window highlights at 100 percent. Then make one final frame when the aisle is clear and the blue pool of stained-glass light reaches the worn stone floor.
