
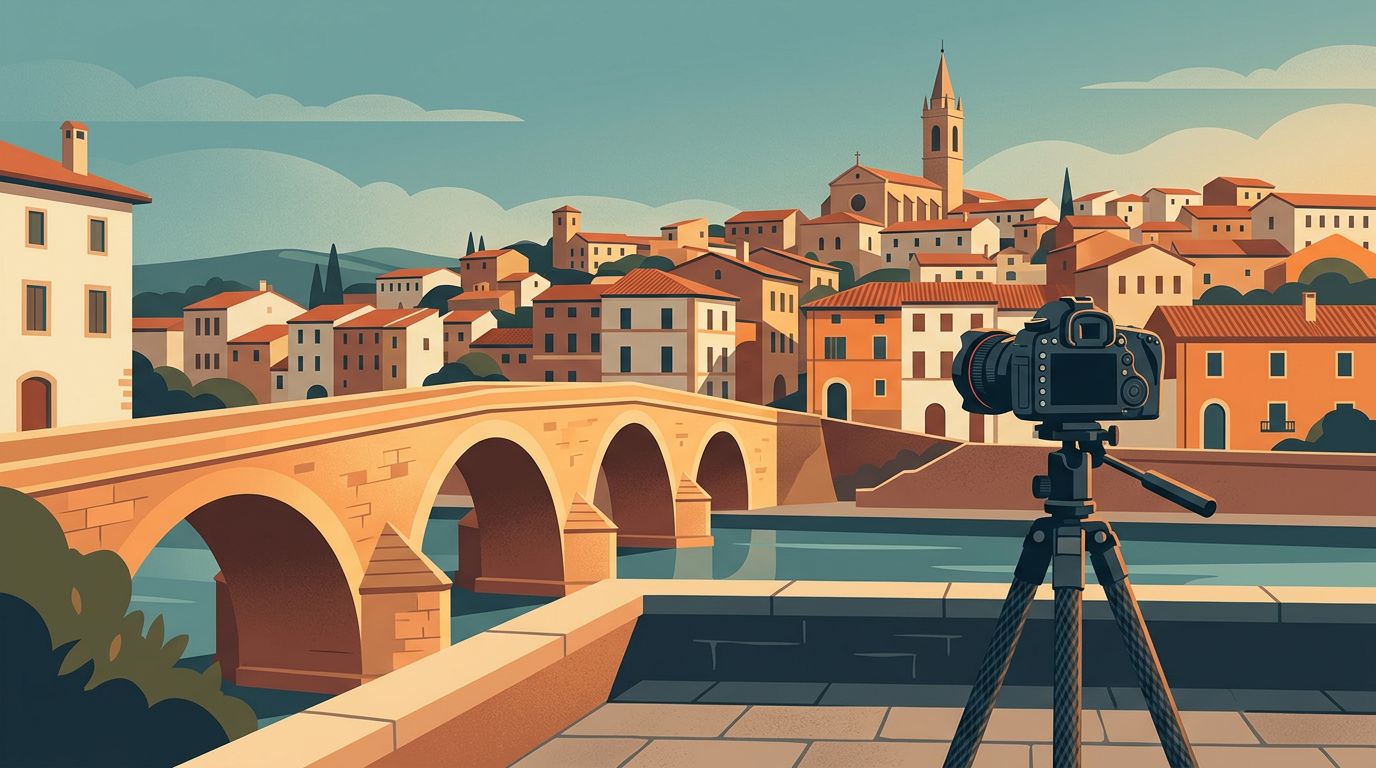
Europe’s most memorable frames often happen while the day is still asleep. A Europe photography itinerary built around soft early and late light changes where you sleep, when you travel, and which views deserve a return visit.
Golden hour isn’t a bonus squeezed between attractions. It is the schedule. Plan each base around one reliable sunrise target and one sunset target, then let the rest of the day fit between them. Light sets the timetable.
Why Golden Hour Changes the Way You Plan Europe
Golden hour is the low-sun period shortly after sunrise and before sunset, when shadows stretch, stone warms, and side light gives streets texture. A short explanation of golden hour is useful, but the practical lesson is simple: your usable window is much shorter than a full sightseeing day.
Morning and evening light also produce different kinds of pictures. Sunrise often brings quiet plazas, clean bridges, and fewer people in narrow lanes. Evening brings lit cafe terraces, moving silhouettes, and a stronger chance of people becoming part of the scene. Morning streets have space.
Don’t plan around a fixed 60-minute rule. The length and character of golden hour change with latitude, season, terrain, cloud cover, and the height of surrounding buildings. Because the sun’s direction shifts across the year, an overlook that gives you a warm facade in April may leave that facade in shade in September, while a neighboring hotel removes the first usable minutes of light.
Northern European summer creates an especially demanding schedule. In Edinburgh or Copenhagen, very early sunrises and late sunsets can leave little recovery time if you try to shoot both every day. Southern cities often give you a friendlier rhythm in spring and autumn, although summer heat can push daytime scouting into the morning.
A clear sky can give crisp color and graphic shadows. However, thin high clouds often add more depth after the sun drops below the horizon. Read the hourly forecast, then judge it against the scene you want rather than cancelling a shoot because the weather looks imperfect.
For technical ideas on exposure, timing, and direction, keep a golden-hour field guide handy before you finalize flights and hotels.
Build a Europe Photography Itinerary Around Light, Not Landmarks
Start with your travel dates, arrival city, departure city, and the number of full shooting days available. Next, choose fewer bases than a typical sightseeing route would suggest. Two or three nights in one city can produce better work than a daily sequence of check-ins and hurried train rides.
A good rule is to protect the first full morning after arriving in each base. Long-haul flights, late trains, lost luggage, and unfamiliar streets all make dawn harder than it looks on a calendar. Treat arrival day as a scouting day unless it gives you a clearly reachable sunset.
On a two-week route, putting Venice, Florence, and Rome in sequence can look efficient on a rail map, yet it fails photographically if every transfer takes the evening before a dawn shoot and leaves no buffer for weather.
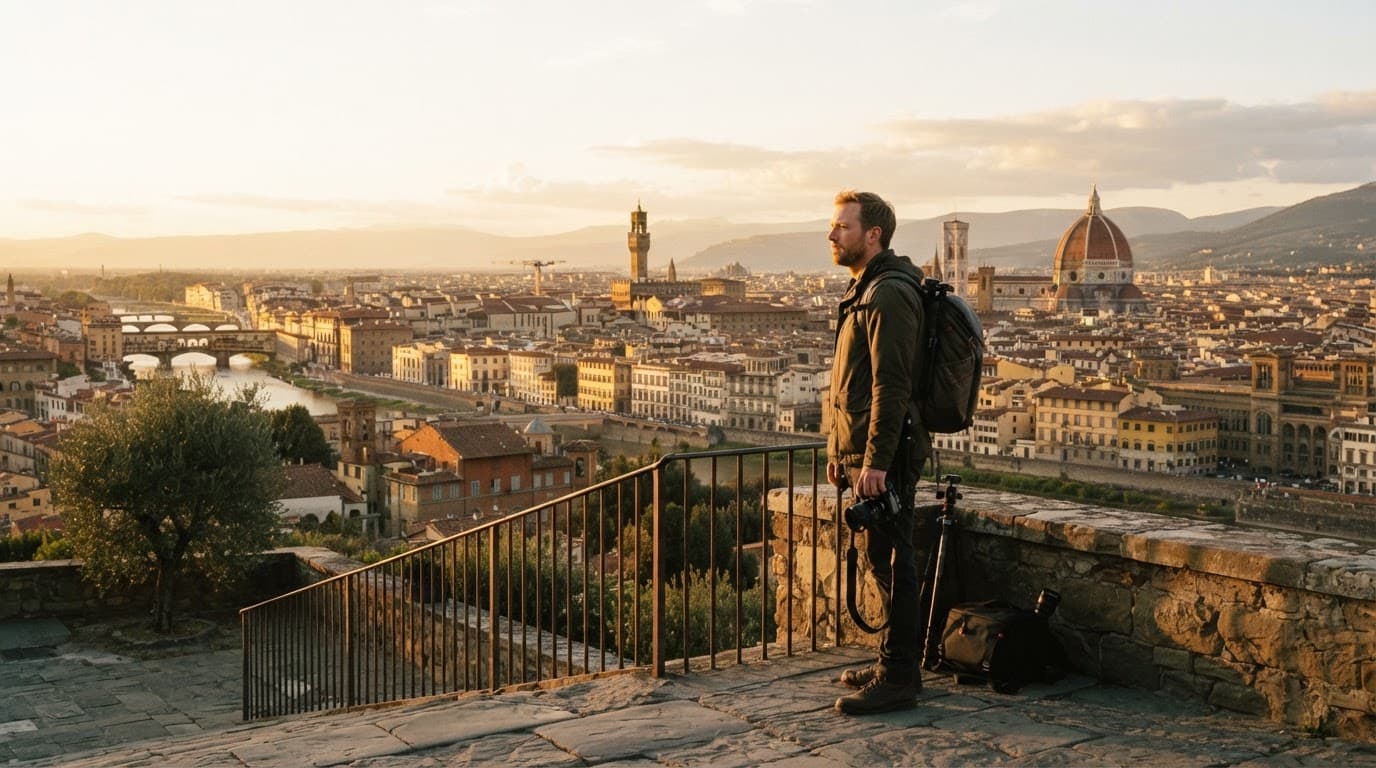
Book rail journeys for late morning or early afternoon when possible. That leaves the first light window intact and gives you time to walk your new neighborhood before dusk. Flights need more caution because airport transfers can swallow half a day.
A hotel that saves 25 minutes after sunset can be more valuable than one extra attraction across town.
Choose accommodation by the first and last part of the day, not only by its distance from the central station. A room near a metro line may look convenient, yet a 35-minute pre-dawn ride can make you skip the morning that mattered most.
Keep one simple planning note for every base: sunrise time, sunset time, hotel-to-location travel time, backup viewpoint, transit cutoff, and the next day’s departure. A travel photo-planning workflow can help you organize the research before the details blur together.
Your Europe photography itinerary needs breathing room. Reserve at least one flexible day during a longer trip, preferably in a city with several locations within walking distance. That single spare morning can rescue a missed skyline, a rainy waterfront, or a closed viewpoint.
Scout Scenes by Sun Direction and Access
A famous location is only a starting point. You need to know where the camera will stand, which way the subject faces, when direct sunlight arrives, and whether crowds or barriers will break the frame.
In dense historic centers, building shadows often matter more than the published golden-hour time. A west-facing facade may catch evening light, while the street beneath it stays dark for another 20 minutes. Therefore, use a map, street-level imagery, and an in-person walk to judge the real scene.
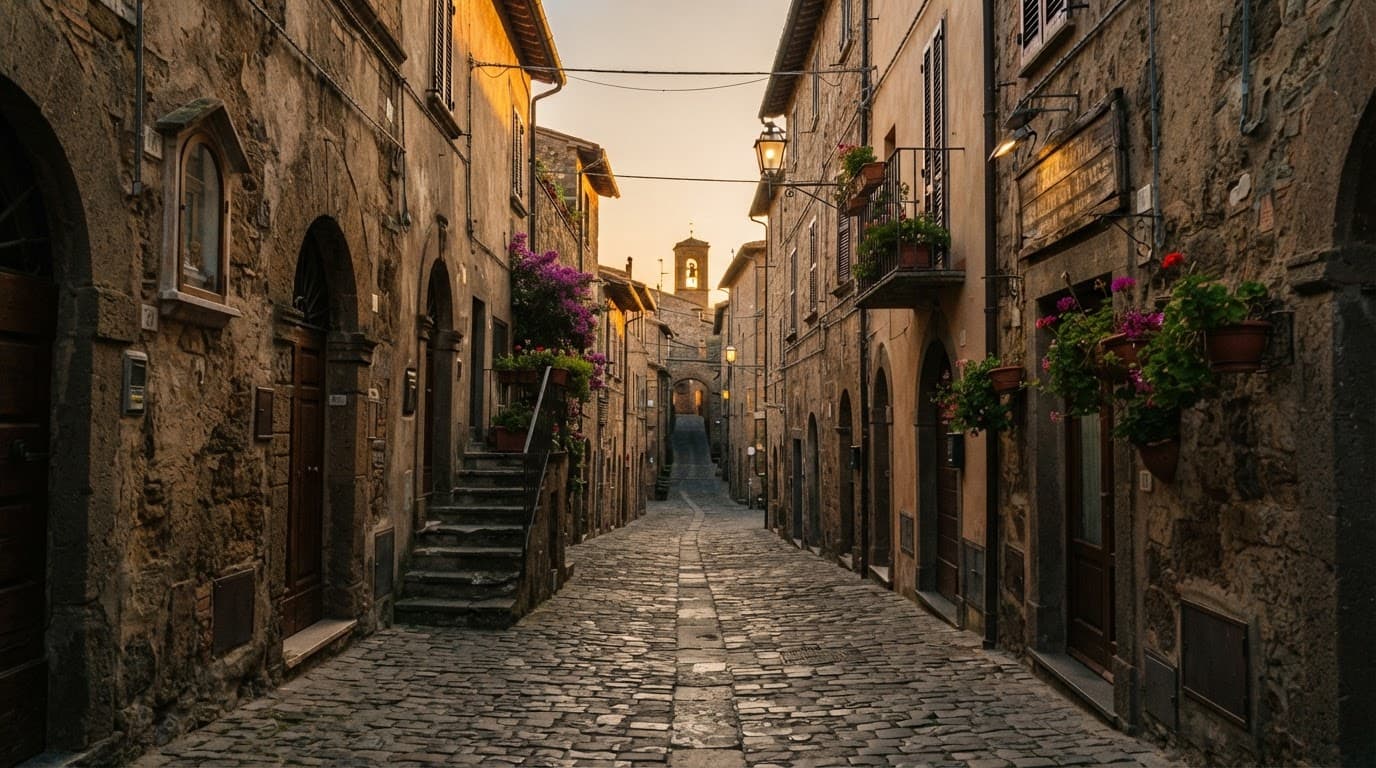
These are useful first scouting points for a city-based photo route. They are starting points, not promises. Check the sun direction, official opening hours, and current access rules for your date.
| Base | First dawn scout | First dusk scout | Practical caution |
|---|---|---|---|
| Lisbon | Miradouro das Portas do Sol and Alfama lanes | Miradouro da Senhora do Monte | Steep streets add time before sunrise |
| Venice | Riva degli Schiavoni toward San Giorgio Maggiore | Accademia Bridge and the Grand Canal | Vaporetto schedules affect both windows |
| Florence | Ponte Santa Trinita facing east | Piazzale Michelangelo | The uphill walk needs extra time |
| Edinburgh | Calton Hill facing east | Calton Hill or Princes Street Gardens | Wind and fast weather shifts matter |
| Dubrovnik | Ploce waterfront and the old port | Wall sections facing the Adriatic | Opening hours control wall access |
One October morning in Venice, a photographer reached the Riva degli Schiavoni at 6:45 a.m. for a clear view of San Giorgio Maggiore. Delivery boats filled the intended foreground, so a 200-metre walk toward the Doge’s Palace found a gap between two hulls and saved the composition.
That small detour is why a location pin isn’t enough. Arrive at least once outside the main light window and test the frame. Look for parked vans, scaffolding, cafe furniture, construction fencing, and trees that may block the view.
Use Sun-Planning Apps Before You Book
A good solar app answers more than “when is sunset?” It should show the sun’s direction, elevation, and path for a precise point on a precise date. Pin your camera position first, then add the subject and check the line between them.
PhotoPills is useful when your frame depends on a close alignment, such as the sun dropping behind a dome or lighting a bridge from one side. Its augmented-reality and 3D tools make abstract map lines easier to read on location. The Photographer’s Ephemeris is also helpful when terrain or a raised viewpoint affects when the sun appears over the horizon.
For tight city streets, look beyond the natural horizon. Tools such as SunOnTrack and Coffee in the Sun can help you judge when buildings cast shade across a square, courtyard, or canal. Phototime and similar apps are useful for quick exact-time checks when you don’t need a full planning screen.
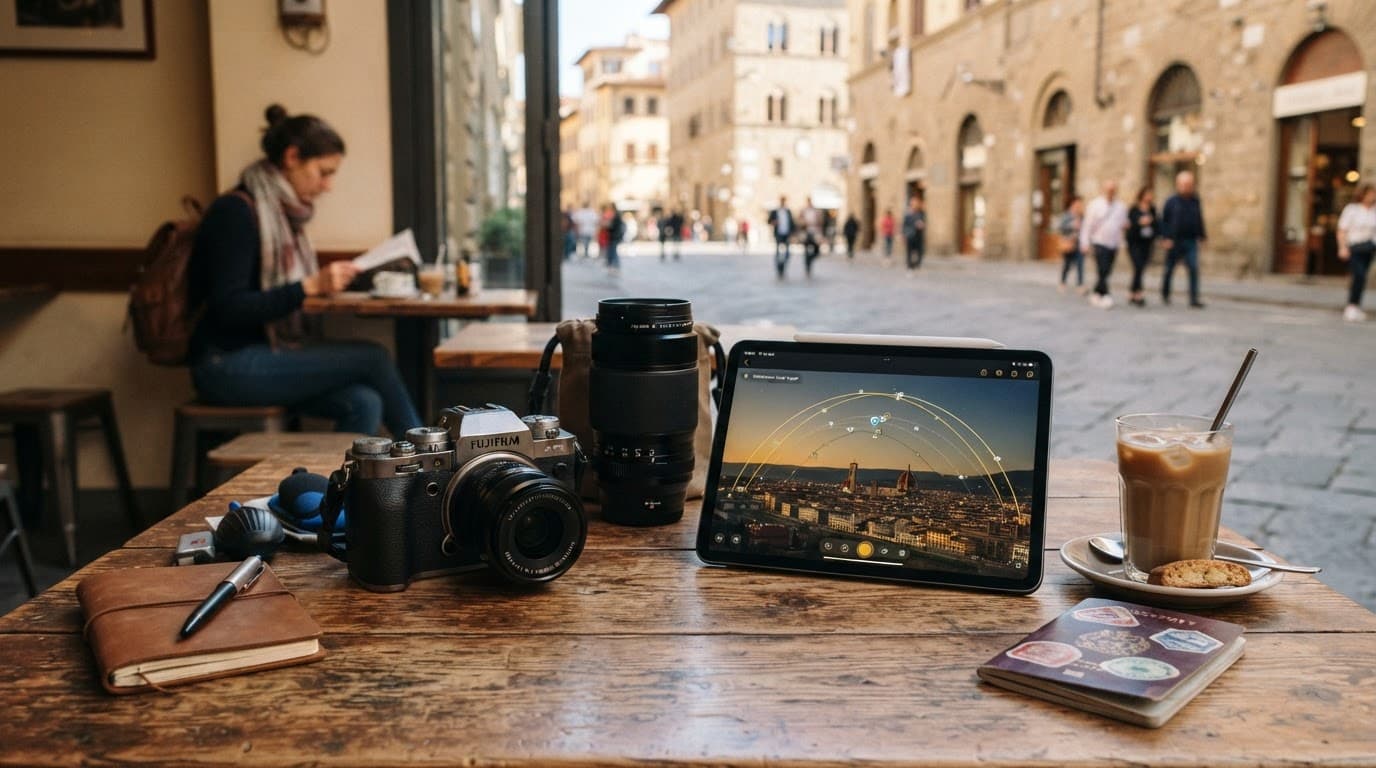
A Europe photography itinerary becomes more dependable when every major location has a pinned camera position and a backup. Save screenshots before leaving hotel Wi-Fi, because data service can be patchy on hilltops, old city walls, and coastal paths.
Apps predict geometry, not atmosphere. Low cloud can hide the sun, haze can soften the whole scene, and rain can turn a stone street into a reflective surface. Still, planned direction gives you choices when conditions change.
Check civil twilight as well. The strongest color may arrive after the sun has set, particularly when high clouds hold a pink or violet glow. Blue hour also asks more of your gear, because exposures can stretch into seconds once the ambient light falls.
Give Every Day a Light-Window Plan
A successful shooting day has one primary light window and a clear purpose for the hours between. Dawn works well for landmarks that are busy by 9 a.m. Sunset suits city views, promenades, and facades that need warm side light.
Before the crowds
For a 6:10 a.m. sunrise, plan to reach the location around 5:25. That margin covers a wrong turn, a closed gate, a slower tram, and the time needed to choose foreground. You also want a few frames before direct sunlight appears.
Use this rhythm on full photo days:
- Arrive early enough to compose in dim pre-sunrise light, then photograph the changing color before and after the sun appears.
- Spend late morning moving between neighborhoods, visiting interiors, or taking a train to the next base.
- Use mid-afternoon for a second scout, checking shadows, entry points, and the safest place for a tripod.
- Return for sunset, then stay through blue hour if the scene has lamps, water, traffic trails, or a bright skyline.
Put museum reservations, food markets, and long lunches in the middle of the day. That way, an overcast morning doesn’t feel wasted, and a last-minute change of plan doesn’t destroy the whole schedule.
Night photography has a transport problem that deserves attention. Know the last metro, ferry, funicular, or bus before you set up. In places like Venice, a late vaporetto can be part of the plan rather than a surprise after blue hour.
When you photograph a bright sky over a darker foreground, take a bracketed series rather than forcing a single exposure to carry everything. Keep the camera still, protect highlights around the sunlit edge, and check the histogram before the color disappears.
Pack for Fast Changes in Light
Golden hour rewards a compact kit you can set up without digging through a bag. Carry the equipment that supports your planned shots, then leave the rest at the hotel. Every extra lens becomes more annoying on a steep staircase at 5 a.m.
A practical city kit often includes:
- One dependable camera body with fresh batteries and two memory cards.
- A 24-70mm or similar standard zoom for streets, facades, and distant views.
- A small wide-angle lens if your route includes interiors or close canal scenes.
- A compact tripod, microfiber cloth, rain cover, and a small headlamp with a dim setting.
Shoot RAW if you plan to recover highlights or adjust white balance later. In bright early light, start with a lower ISO and check whether the warm color is clipping in the red channel. As the sun falls, stabilize the camera before raising ISO too far.
A tripod is useful for blue-hour water, architecture, and bracketed frames. However, don’t plant one in a narrow rush-hour lane or block a busy bridge. Work quickly, keep your bag close, and move aside when pedestrians need space.
For more field-friendly ideas, these travel photography pointers cover the value of early and late light on a vacation. Your own route still decides what belongs in the bag.
Leave Space for Weather, Crowds, and Other Travelers
Weather flexibility separates a usable plan from a rigid one. Give each city two sunrise options and two sunset options that work in different conditions. A broad skyline needs a dramatic sky, while a sheltered alley can work under flat cloud or light rain.
Leave room for weather. If strong rain arrives, scout covered arcades, museum entrances, cafe windows, or reflective pavement nearby. A stormy evening can also clear into a brighter western horizon, so don’t abandon the city center too early.
When you travel with friends or family, agree on the light windows before the trip. A 90-minute sunrise walk feels easier when everyone knows the rest of the morning is free. Belinda Shi’s approach to group travel photos is a good reminder to choose a few high-value photo windows instead of chasing every frame.
Safety belongs in the plan as well. Tell someone where you’re going at dawn, check the route the previous afternoon, and avoid isolated overlooks when you are alone. Keep expensive gear out of sight until you reach the location.
Let the Light Set the Route
Your strongest pictures will come from time protected for good light, not a packed list of countries. Choose fewer bases, sleep near your first viewpoint, and give every major scene a fallback for cloud, shade, or crowds.
A well-built Europe photography itinerary lets trains, hotel bookings, and meals support the photographs instead of competing with them. Put the fully charged camera, 24-70mm lens, and transit ticket beside the door before you sleep.
